
Repair of Cracks in a Stainless Steel Drying Drum
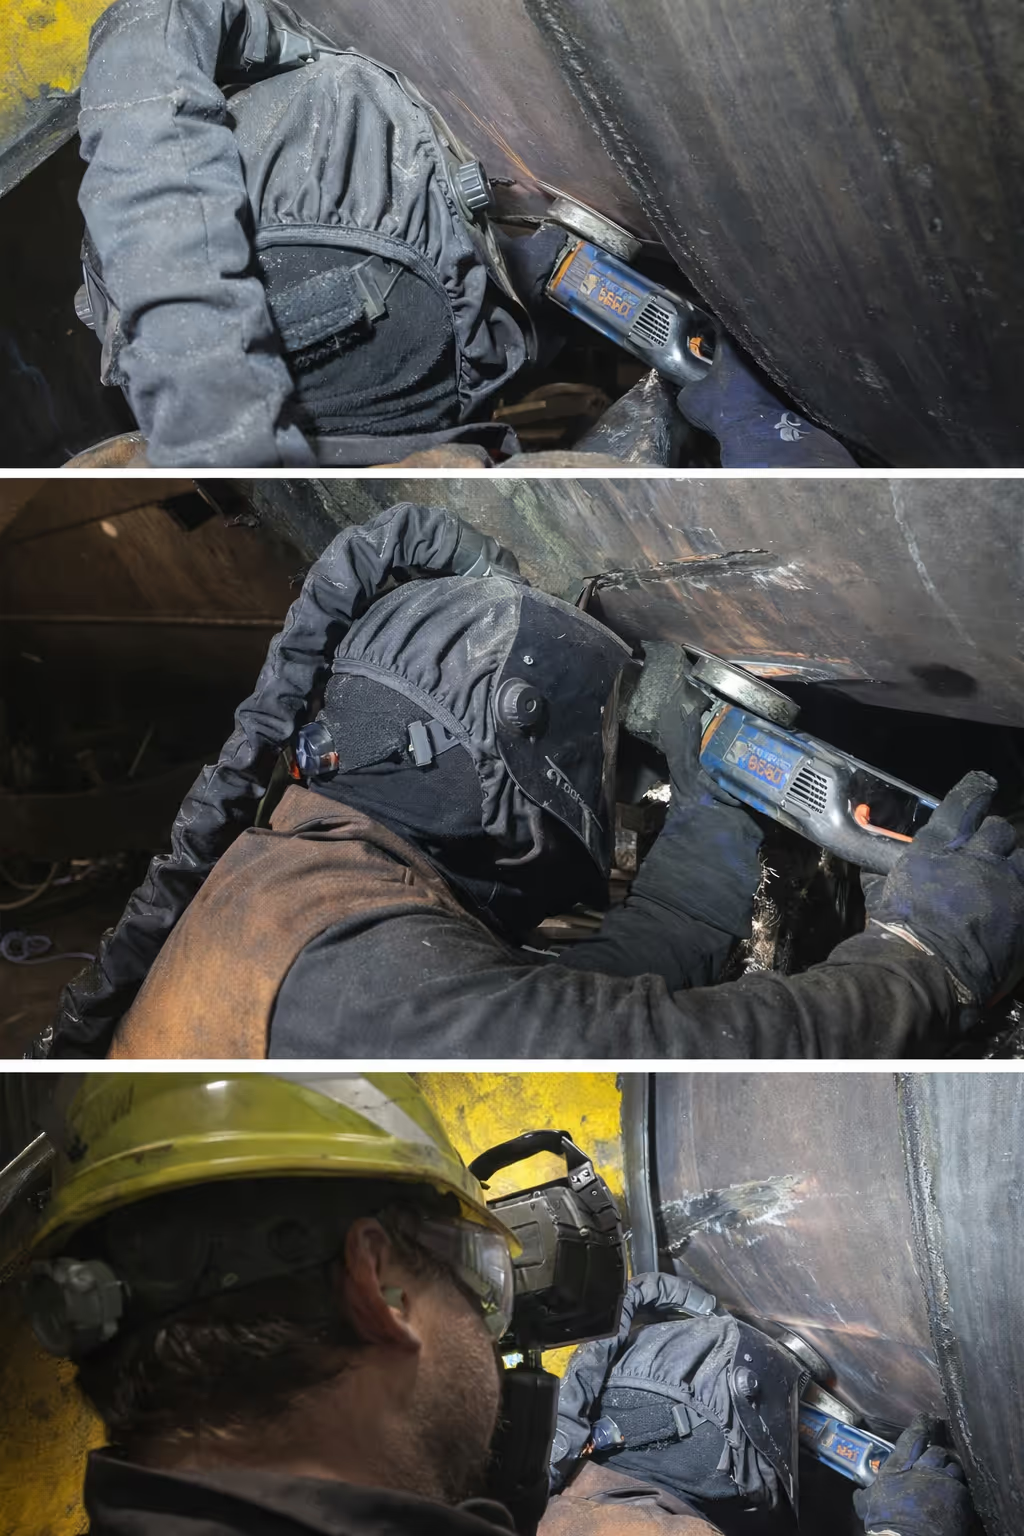
Diagnostics and repair preparation
The customer scheduled a weekly shutdown of the line to carry out repairs. The repairs included two main parts:
- Repair of the circumferential weld leakage on the drum head
- Removal of cracks on the drum shell
Visual inspection revealed discontinuities on the head as well as inside the shell. A penetrant test was used to precisely determine the depth of the cracks and to verify the quality of the repair after completion.
Repair Process
- It was necessary to cut off the cover sheets of the drum front and after the repair, reinstall and weld them dust-tight.
- A new circumferential weld was made on the front of the drum, which passed 100% visual inspection.
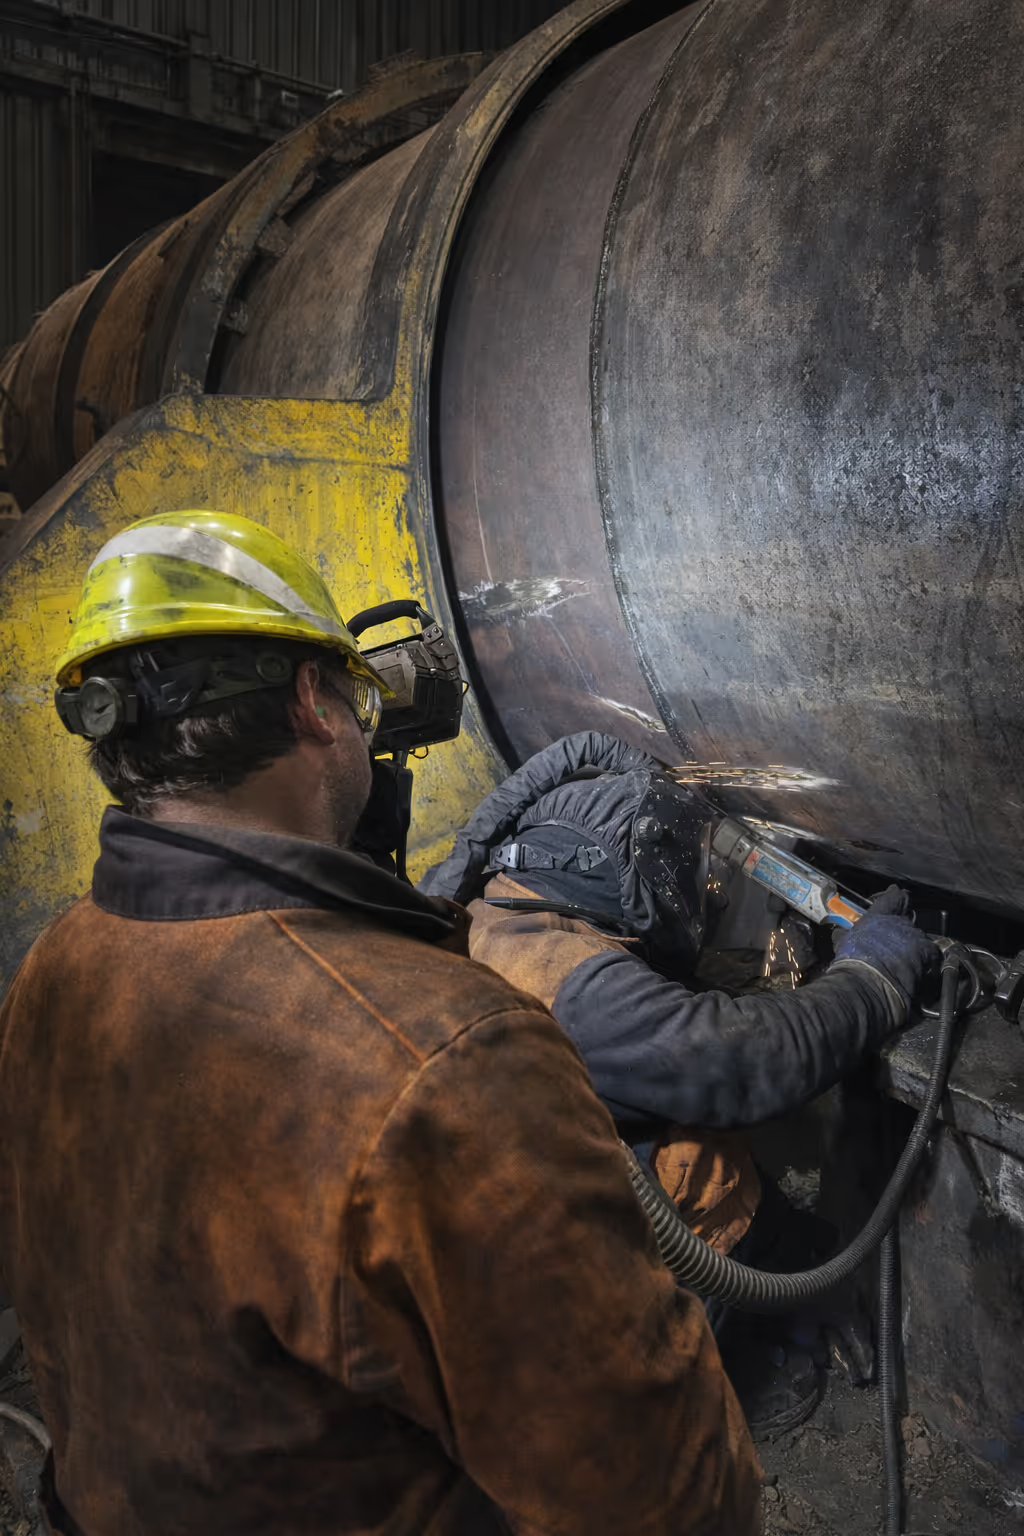
- The repair of cracks in the rear part of the shell was time-limited, so we focused on the most damaged areas with the longest cracks.
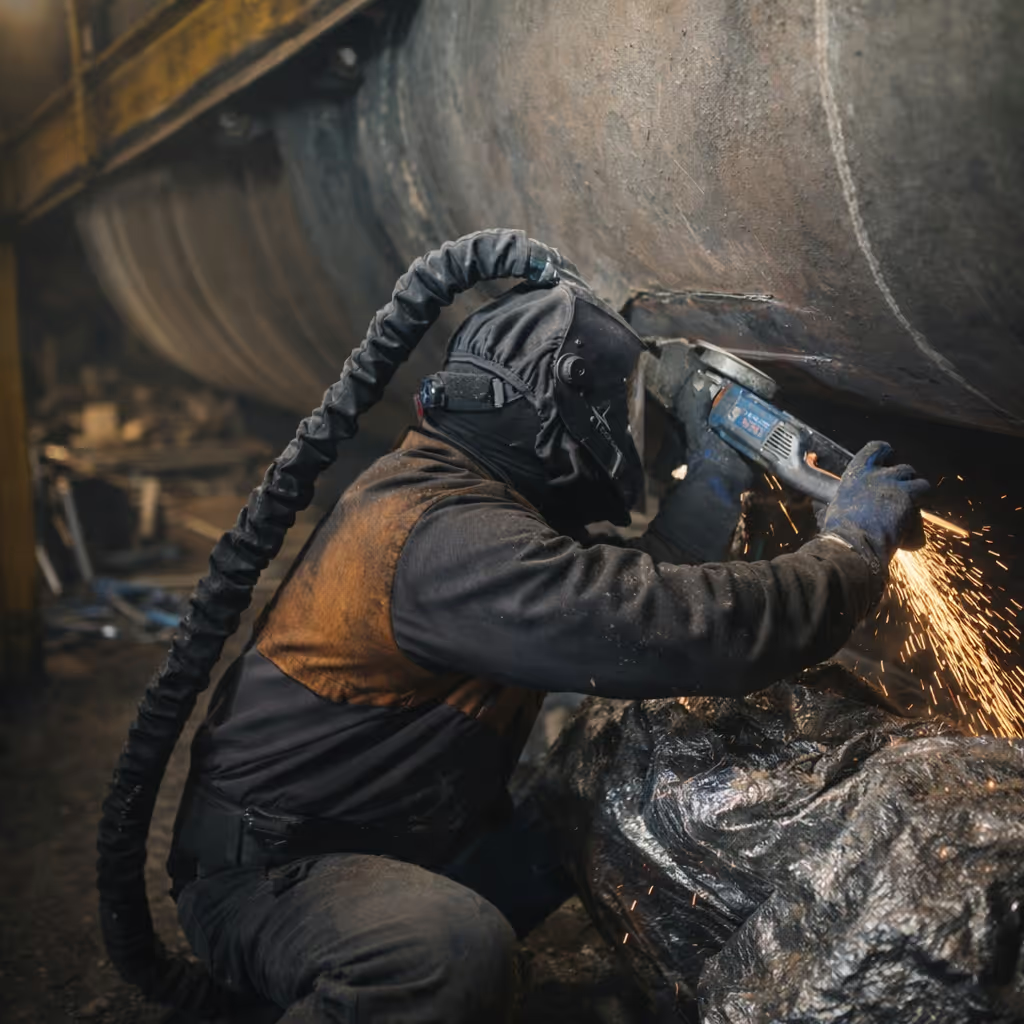
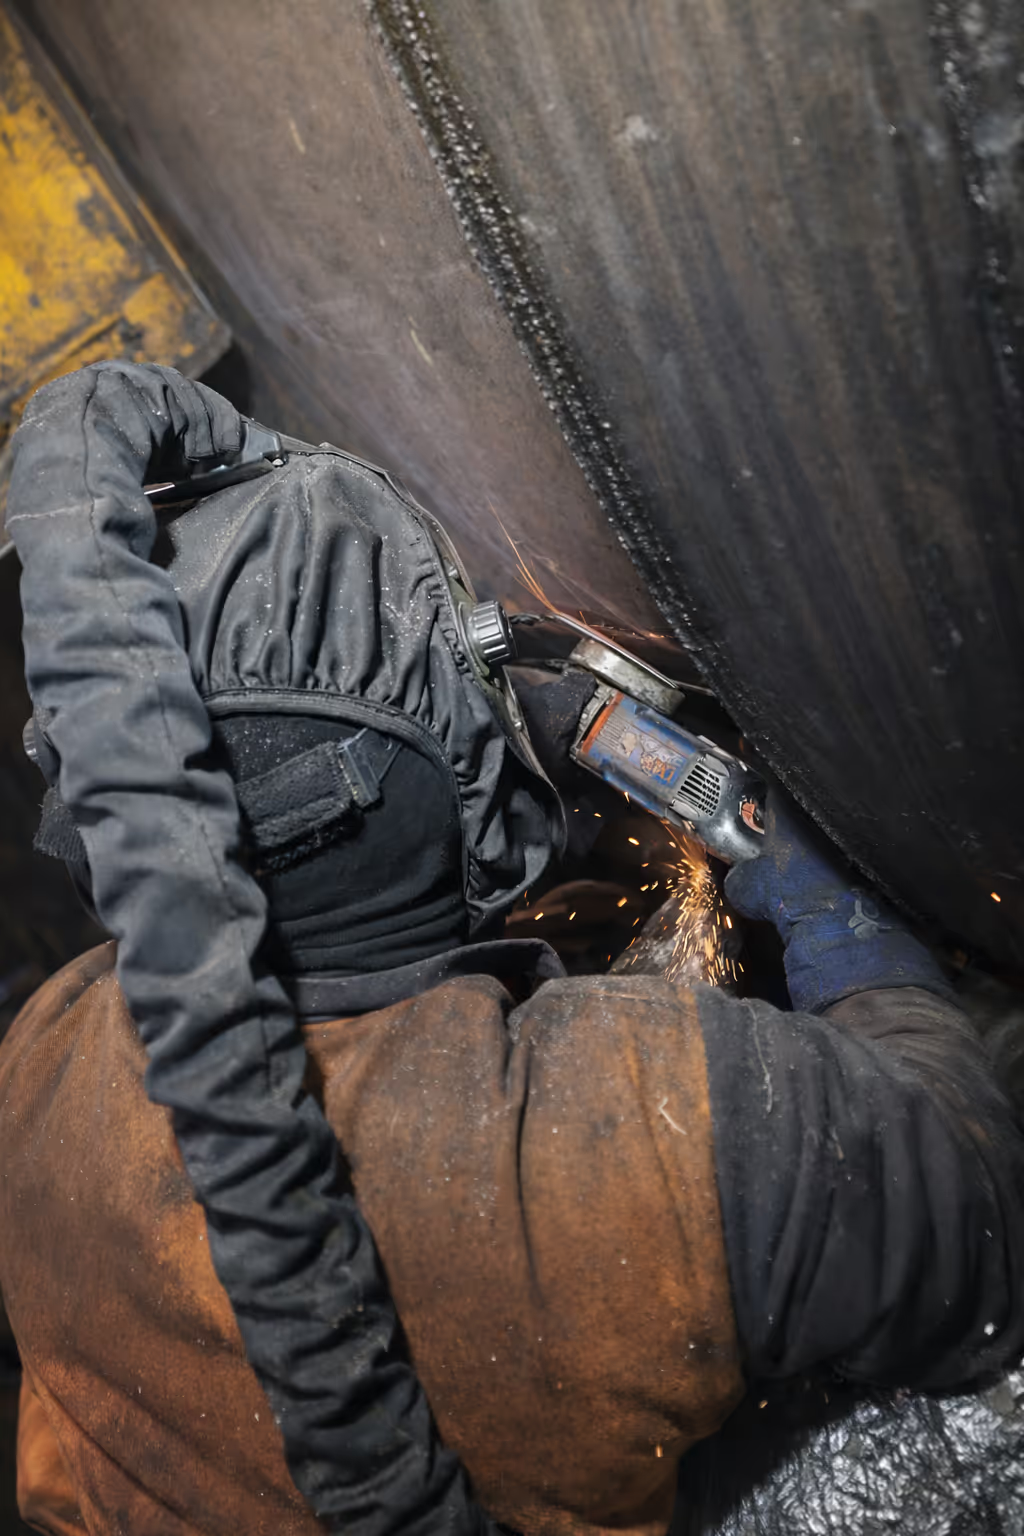
- Removing the cracks was challenging – material was falling off and the cracks were spreading sideways.
- A total of 8 cracks of different orientations were repaired, and the quality of the repairs was verified visually and by penetration testing.
- The repaired areas are free of defects, and the drum was safely handed over to the customer.
Summary
Repairing a worn drum with defects is always a challenge. The actual scope of repairs is often greater than the original plan, and the schedule needs to be optimized ontinuously.
Thanks to precise procedures, appropriate application of NDT methods, and the experience of our specialists, we can guarantee reliable repair quality.
Do you have equipment in poor condition and are considering repairing it instead of replacing it? Contact us for expert solutions.

Certificates
We manufacture from steel, We build on trust.
In engineering since 1991